Dimplex Chesford CSD20 Service Manual
Browse online or download Service Manual for Fireplaces Dimplex Chesford CSD20. Dimplex Chesford CSD20 Service manual User Manual
- Page / 13
- Table of contents
- BOOKMARKS
Summary of Contents
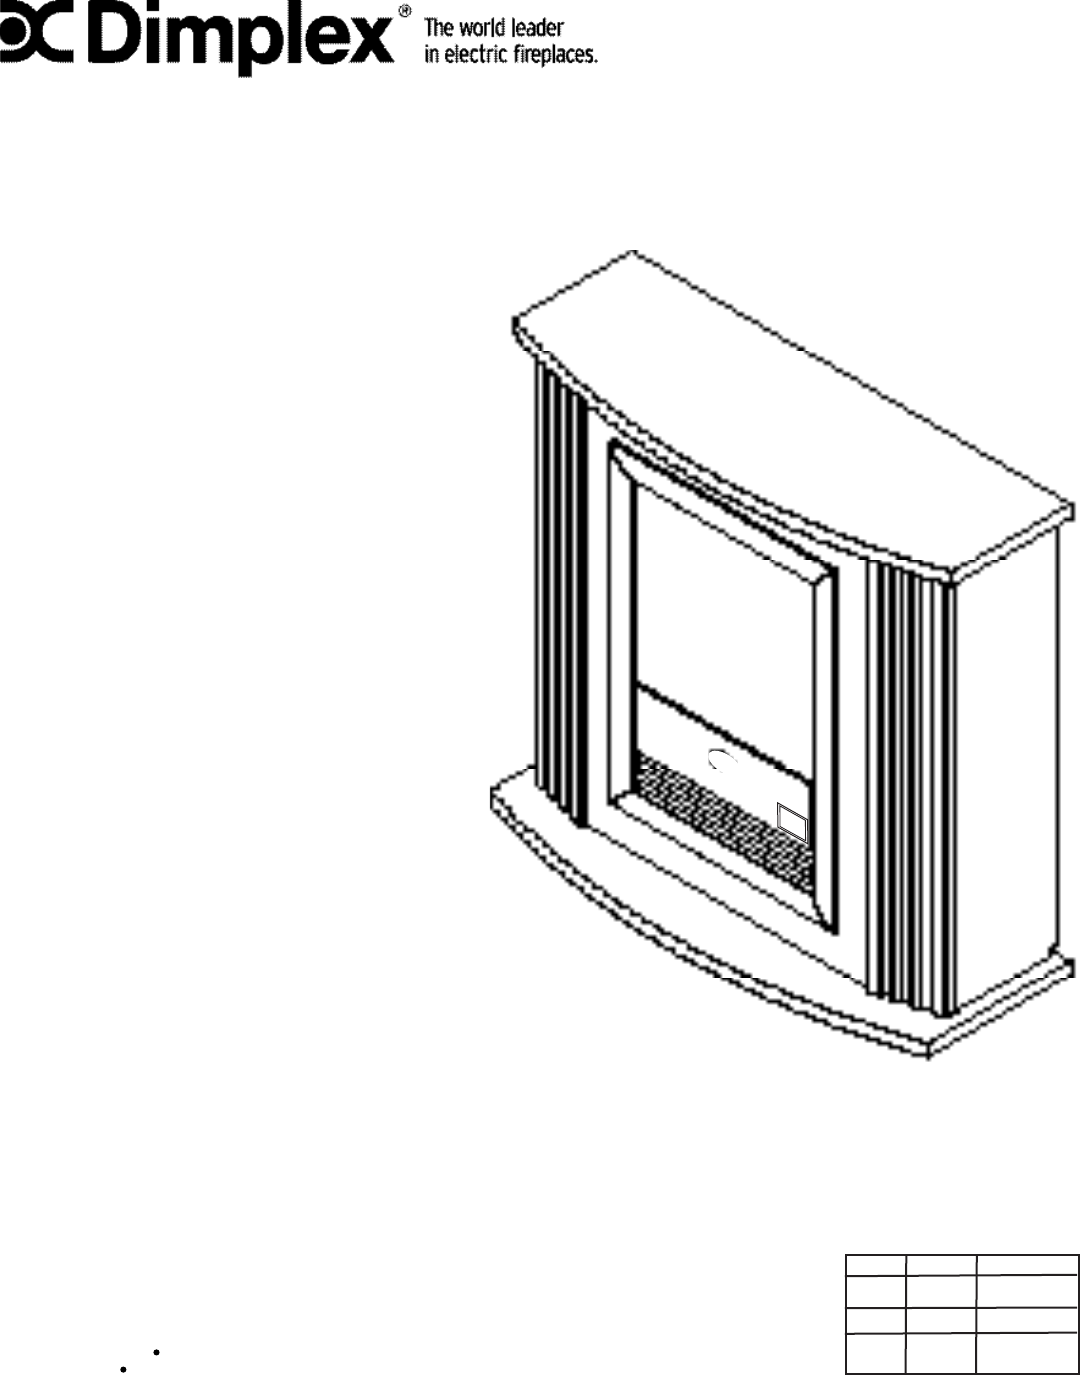
Service Manual Mozart FireplaceModel Numbers: CFP3913 7400270000rev00REV PCN DATE 00 11637 Sep 23, 09In keeping with our policy of continuous p
1023. Turn rebox on it’s back.24. Referring to Figure 11 (page 9), reconnect the single black wire from the Flicker Motor to the upper, right termina
11vii) From within the rebox, disconnect the two (2) orange wires that connect to the back of the Low Heat Switch and the 3 Position On/Off Switch (
12Mirror Retaining Bracket in place (Figure 7, page 7) and remove.9. Slide Mirror up from within the rebox to remove.10. Remove the Log Set by pulli
13screwdriver, release the two (2) black wires from the Terminal Block (turn the screws of the Terminal Block counter-clockwise) which lead from the P
2Table Of ContentsOperation ...Page 3Exploded Parts Diagram and Parts List. . . . . . . . . . . . .
3OperationElectric Fireplace Manual ControlThe manual controls for the unit are located behind the control panel on the front of the rebox (Figure 1)
4Exploded Parts DiagramReplacement Parts ListCFP3913Part Number 6904890100Replacement Part: 1. Log set. . . . . . . . . . . . . . . . . . . . . . .
5Wiring Diagram Flicker MotorRemote Receiver BoardHeater AssemblyCutoutCord SetPower Terminal BlockCircuitry Terminal Block3 Position On/Off SwitchLo
6Light Bulb ReplacementAllow at least ve (5) minutes for light bulbs to cool before touching bulbs to avoid accidental burning of skin.Light bulbs ne
7Switch ReplacementIf the replace was operating prior to servicing allow at least ve (5) minutes for light bulbs and heating element to cool off to
8Flicker Motor/Flicker Rod ReplacementIf the replace was operating prior to servicing allow at least ve (5) minutes for light bulbs and heating elem
97. Remove the seven (7) screws that attach the Top Panel to the rebox. There are: two (2) Phillips screws along each side at the top edge of the
More documents for Fireplaces Dimplex Chesford CSD20


Related products and manuals for Fireplaces Dimplex Chesford CSD20
 (13 pages)
 (12 pages)
(14 pages)
(16 pages)
(15 pages)
(16 pages)
(13 pages)
(21 pages)
(17 pages)
(16 pages)
(16 pages)
(12 pages)
(14 pages)
(16 pages)
(15 pages)
(16 pages)
(13 pages)
(21 pages)
(17 pages)
(16 pages)
(16 pages)
 (16 pages)
(17 pages)
(13 pages)
(22 pages)
(11 pages)
(1 pages)
(9 pages)
(16 pages)
(17 pages)
(13 pages)
(22 pages)
(11 pages)
(1 pages)
(9 pages)
© 2020, manymanuals.com. All rights reserved. | 1.033 s |
 Manymanuals.com
 Manymanuals.de
 Manymanuals.fr
 Manymanuals.it
 Manymanuals.pl
 Manymanuals.cz
 Manymanuals.es
 Manymanuals-pt.com
Comments to this Manuals